HDBridge Module Front Button
For advanced configuration settings and/or remote access to the system, the HDbridge™ modules utilize the WebManager, a web interface available over an Ethernet connection either directly to a PC or through a switch/LAN connection.
This page provides an overview that will help you log into and navigate WebManager. For complete step-by-step configuration instructions, please download the complete HDbridge™ Advanced Configuration Manual.
1. Connecting to the module:
- By default, all HDbridge™ units are configured to use DHCP for Ethernet connectivity. If the units are connected to a LAN, they will request a IP address from the local DHCP server, if they are connected directly to a PC, they will use the link-local address. You will need a standard patch cable, not a cross-over cable. PCs that are connected directly to the units do not require an internet connection.
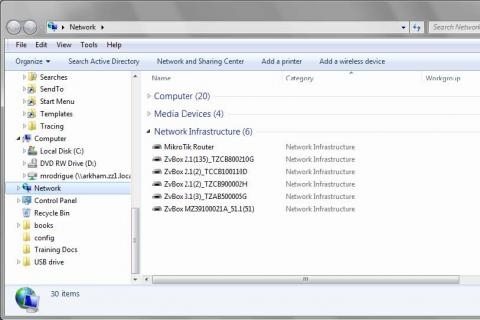
- Once your PC is connected to the module, the modules will be listed under “Network” or “Network Neighborhood.” Double-click on a module icon to open Webmanager in a new browser window.

2. Logging into WebManager:
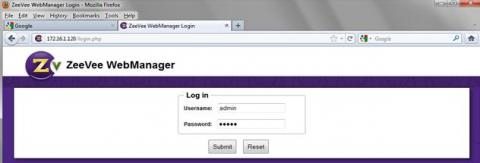
- You will be directed to a login page.
- The Username will always be “admin.”
- The default password is “admin” but it can be changed in the configuration tool (see page 8 of the PDF guide).
- NOTE: Login is case-sensitive.

3. Navigating in WebManager:
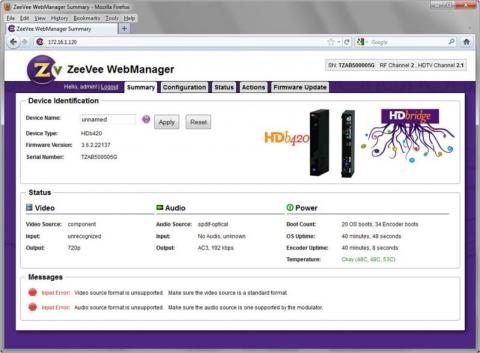
- Tabs across the top allow for different configuration and actions.
- Note that you can get detailed information about any field on any page by hovering over the purple ? icon to the right of the field from within the WebManager.

4. Configuration tab:
- The Navigation Bar on the left lists categories that link to a specific pages in the configuration section.
- In the screenshot on the right, we are on the RF & HDTV Channel page within the configuration section.

or
